
Just a few years ago, recording music almost automatically meant booking a studio. For many musicians, this was expensive and often intimidating. Today, things are different. A laptop, a microphone, and a little patience are often all you need to record your own songs.
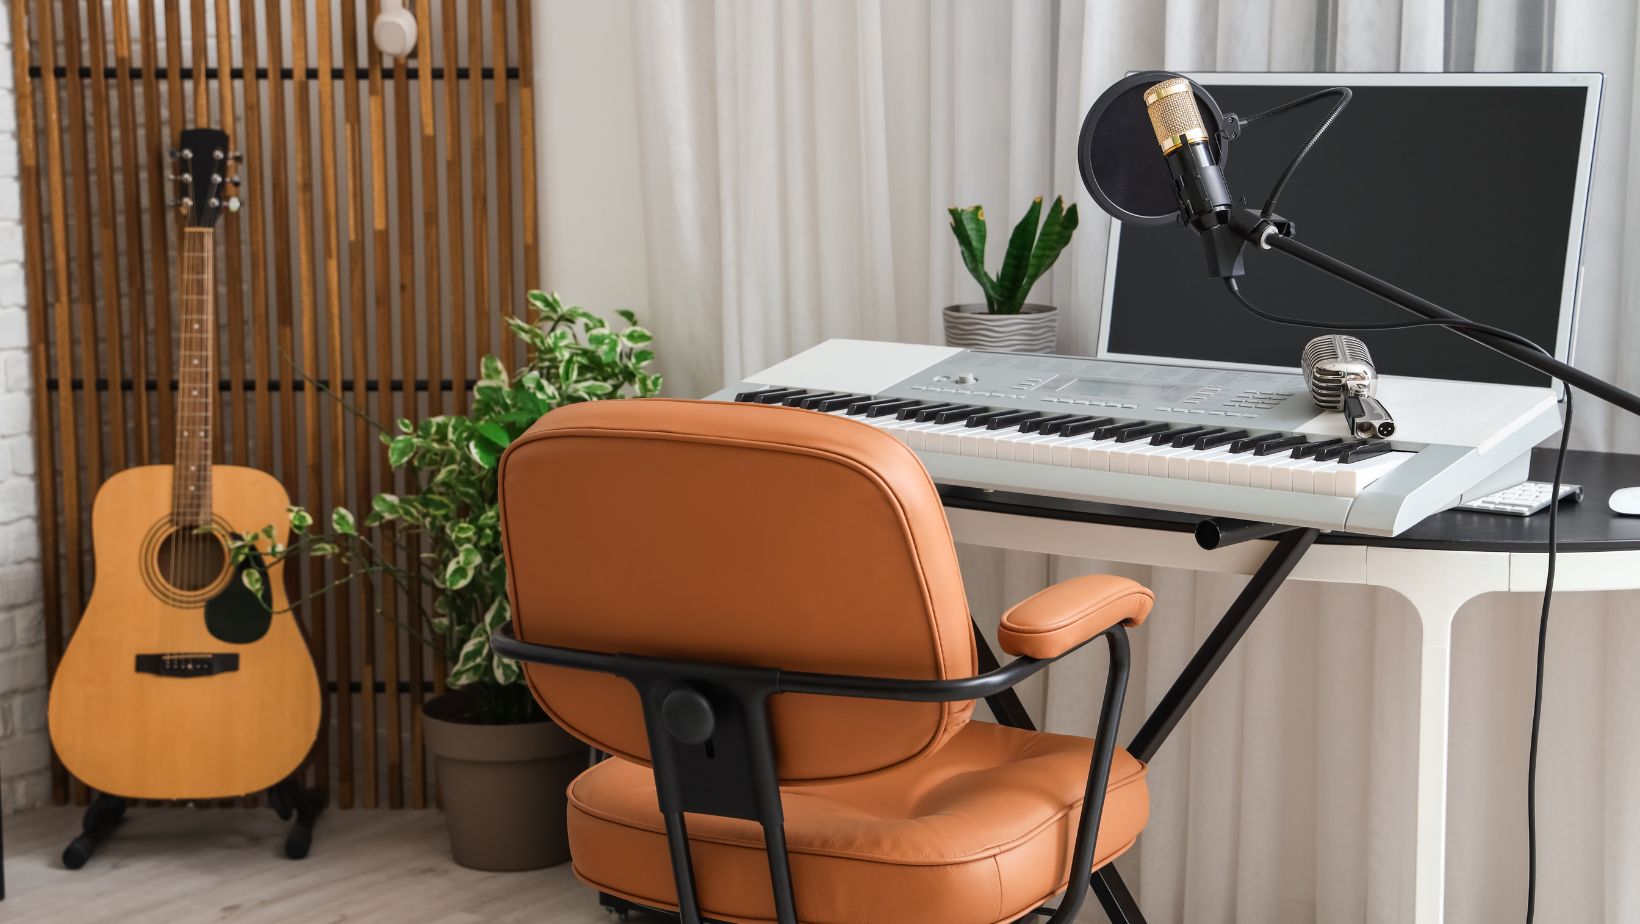
That’s why more and more artists are working at home. In their bedroom, living room, or simply at a free corner of their desk. This place doesn’t have to be perfect. The most important thing is that you can work there regularly—and that ideas aren’t lost just because there’s no studio available at the moment.
The right preparation for your home studio
Before ordering your first microphone, it’s worth asking yourself one simple question: Where should the studio be located? Many apartments don’t have a separate room for this purpose. So the home studio has to fit into the space where you already live.
That’s why many musicians today are paying more attention to practical solutions. Some manufacturers develop furniture specifically for music setups. Brands such as furonic, for example, build stands for turntables or furniture in which vinyl records can be neatly stored. Ideas like these show that music equipment doesn’t necessarily have to be scattered chaotically around the room—often, a little organization is all it takes to find a place for everything.
The computer as the center of production
Nowadays, the most important part of a home studio is almost always the computer. It runs the software used to create songs. Musicians record tracks, cut passages, try out effects, and put everything together to form a finished piece.
These programs are called digital audio workstations, or DAWs for short. Names like Ableton Live, Logic Pro, and FL Studio crop up time and again in the scene.
For beginners, such programs often seem complicated at first. Lots of menus, lots of options. But after a few hours, it becomes clear that the basic idea is actually simple. You record something, listen to it, change details—and keep going until the song works.

The audio interface: small box, big difference
In addition to a computer, an audio interface is almost always a must-have on your desk. It is the connection between the microphone, instrument, and computer.
You’ll quickly notice the difference. Without an interface, the sound runs through the laptop’s internal sound card—which is rarely designed for music recording. With an interface, the recording sounds cleaner and there is significantly less delay when playing back.
A small model with one or two inputs is usually sufficient for beginners. Many musicians work with this setup for years.
The right microphone
As soon as you want to record vocals, the microphone comes into play. Many people opt for a condenser microphone because it can record voices very clearly and in great detail.
But even small things make a difference. A pop filter, for example, prevents hard consonants from producing unpleasant noises. A stable microphone stand is just as important—nothing is more annoying than a microphone that slips during recording. Especially with vocals, you quickly realize that a good microphone can change the entire song.
Of course, recording alone is not enough. Afterwards, you have to be able to hear what you’ve actually produced.
Many musicians start with studio headphones. They are relatively affordable and deliver a fairly honest sound. Those who produce for longer often add studio monitors – special speakers for music production – to their setup later on. The advantage: they mercilessly reveal when a mix is not quite right.
Room acoustics – the influence in the background
One thing that many beginners don’t think about until later is the room itself. But it is precisely this room that often determines how a recording ultimately sounds.
A room with smooth walls reflects sound strongly. The result: the sound quickly becomes reverberant or unstable.
However, simple measures can greatly improve the situation. A carpet on the floor, curtains in front of the window, or a large bookcase on the wall absorb some of the sound.
A small example from practice: if you want to record vocals in your bedroom, it’s better not to place the microphone directly in front of a bare wall. A corner with curtains or furniture often works much better. The sound immediately becomes quieter.
If you want even more control later on, acoustic panels or bass traps can be installed on the walls or in the corners of the room. These elements help reduce problematic frequencies and improve the listening environment. Keeping the monitoring volume moderate is also important, since the World Health Organization (WHO) notes that prolonged exposure to sound levels above 85 decibels can increase the risk of hearing damage.